WP Invoice Settings Business Process tab
This page will cover the Business Process tab, under WP-Invoice Settings. Here you can set automatic email notifications, content replacement and invoice display settings.
When creating an invoice
Automatically increment the invoice’s custom ID by one: WP-Invoice creates a random automatic ID for the first invoice you create. You also have the option to set a custom ID for the invoice (to match your offline book-keeping or for any other reason). If checked, when creating a new invoice, WP-Invoice will find the biggest ID, increment it by one and set it as the ID for the new invoice.
When viewing an invoice
- Activate Client Dashboard. Client Dashboard shows list of all invoices for particular logged in user. Also Client Dashboard available for not logged in user, but with particular link.

- Display dashboard on the X page: Select the page you want to show Client Dashboard.
- Display invoices on the X page: Select the page you want to show the current user’s invoices on.
- Replace HTML title with invoice subject when viewing invoice: If checked, WP-Invoice will replace the HTML title of the invoice viewing page you have selected with the title (subject) of the invoice the user is currently viewing (the text that appears on the browser’s tab, not the header in the page).
- Replace page heading and navigation link title with invoice subject when viewing invoice: If checked, WP-Invoice will replace the heading of the invoice page you have selected and the default navigation link title, with the title (subject) of the invoice the user is currently viewing (not the HTML tab title).
- Hide page heading completely: If checked, the heading of the invoice page will be hidden completely.
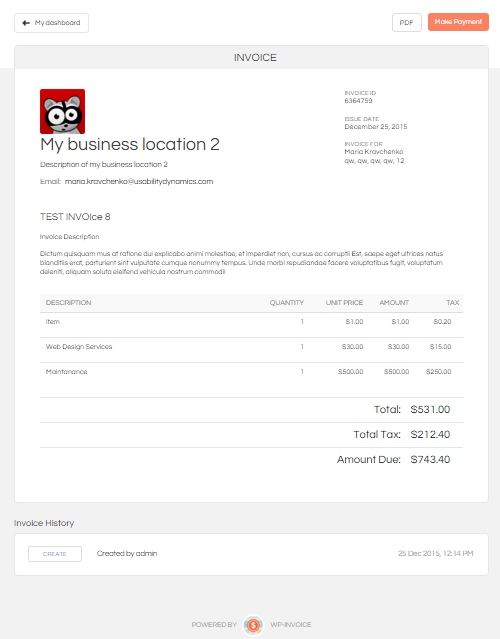
- Show my business name and address: If checked, the business name and address you have set will appear on the invoice viewing page.
- Show quantity breakdowns in the itemized list: If checked, both quantity and total cost of each invoice item will appear on the invoice page. If not only total cost will appear. ***
How to insert invoice
Here you have four choices that will define the way an invoice will appear on the invoice display page you have set before:
- Overwrite All Page Content: This option will overwrite any content we have created with the invoice list page.
- Place Below Content: This option makes the invoice list appear after (below) the content we have set on the invoice display page.
- Place Above Content: This option makes the invoice list appear before (above) the content we have set on the invoice display page.
- Replace [wp-invoice] Tag: With this option we can use the [wp-invoice] shortcode to make the invoice list appear anywhere in between content that we have created for the invoice display page.
- Unified Page Template Unified Page template gives you ability to have good looking invoice in any theme. It has it’s own design(template), which will be the same in each theme.
After a payment has been completed
Here we have options that will create automatic email notifications on successful payment of an invoice (partial or complete).
- Send email confirmation to the client. If checked, WP-Invoice will send a confirmation email to any client who has paid, letting them know that their payment has been processed.
- Send email notification to the address set for administrative purposes from General Settings: If checked, the address set for administrative purposes on the WordPress General Settings (Settings -> General) will be emailed after a payment has been completed.
- Send email notification to invoice creator. If checked, the invoice creator will be emailed automatically once a payment has been completed.
- Use WP-CRM to send notifications You can visit WP-CRM plugin Notifications tab to adjust email templates.